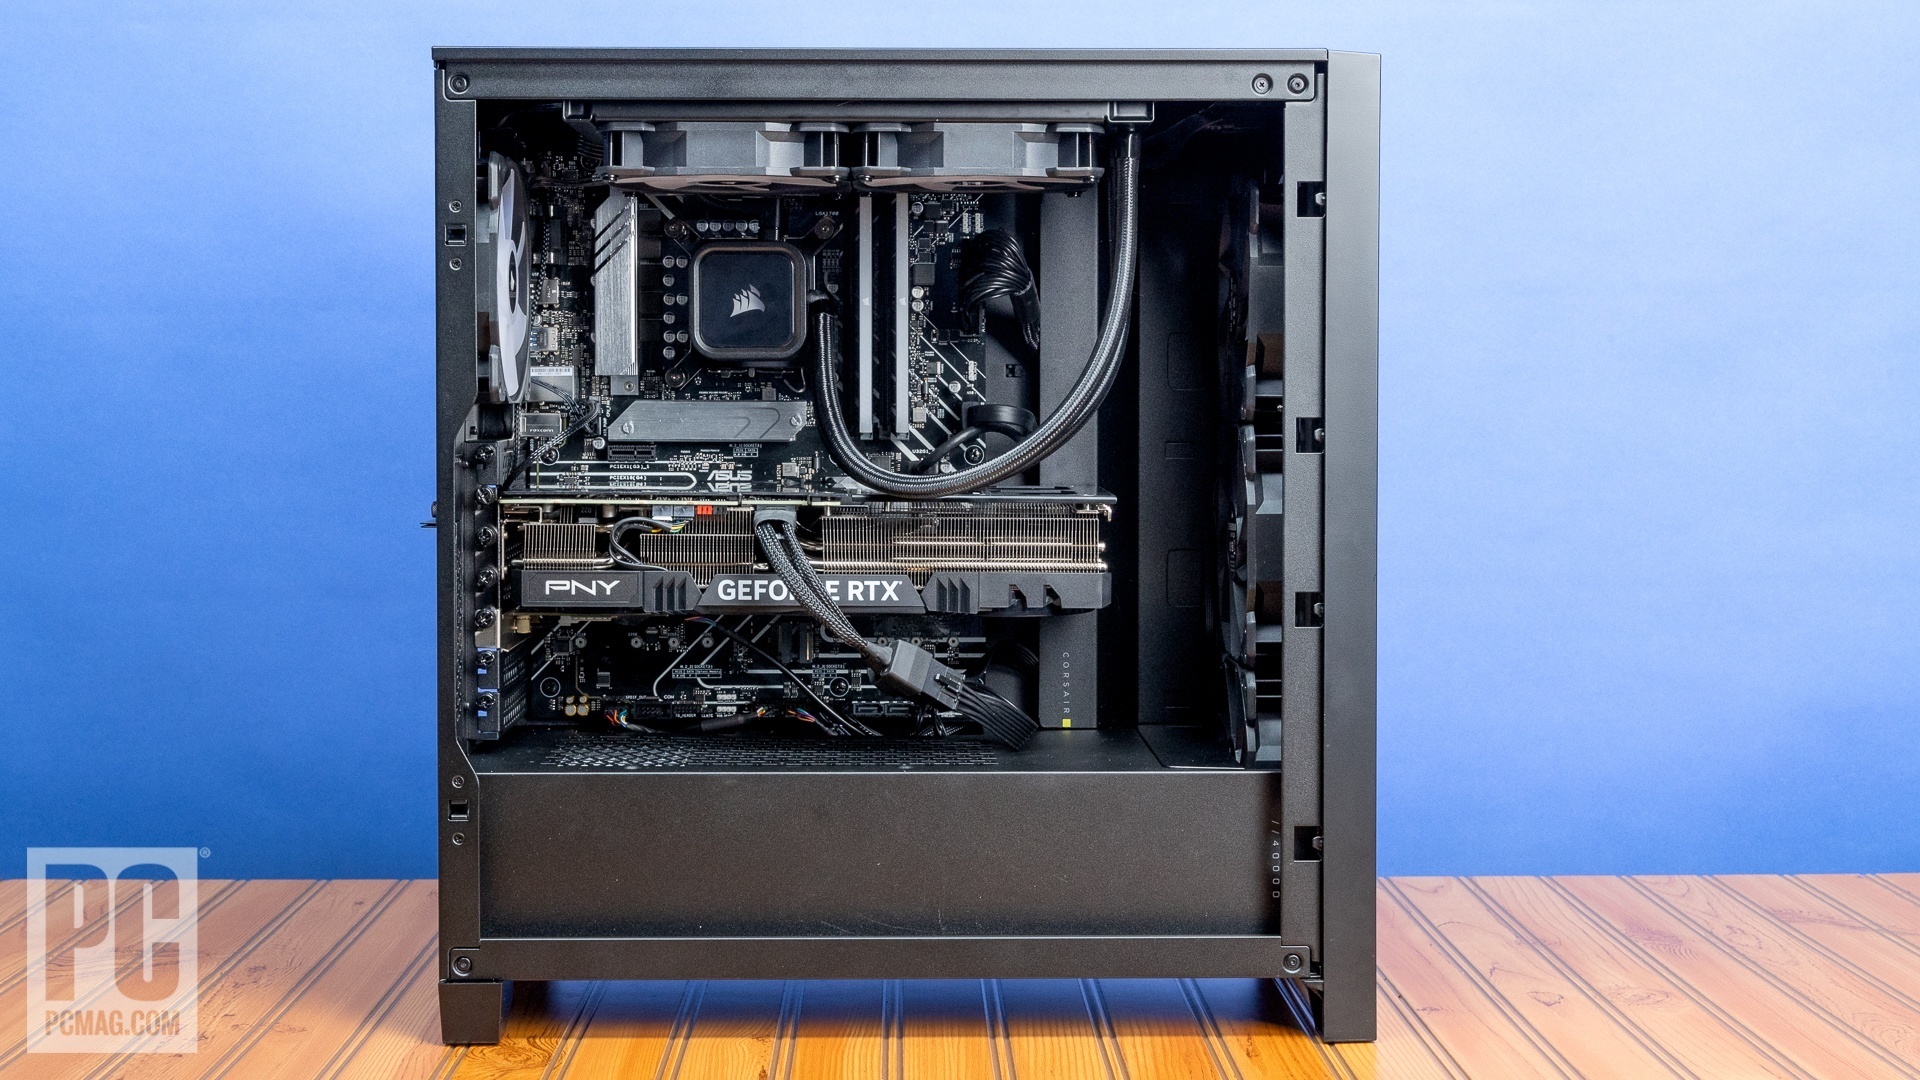

Building your own PC is straightforward if you follow a logical order: install the CPU, RAM, and cooler on the motherboard before placing it in the case, then add the power supply, storage, and GPU. This sequence avoids clearance issues, keeps cables manageable, and lets you test the core components before hiding them inside the chassis. Everything you need fits in a single afternoon, and the only specialty tool is a Phillips #2 screwdriver.
What You Need Before You Start
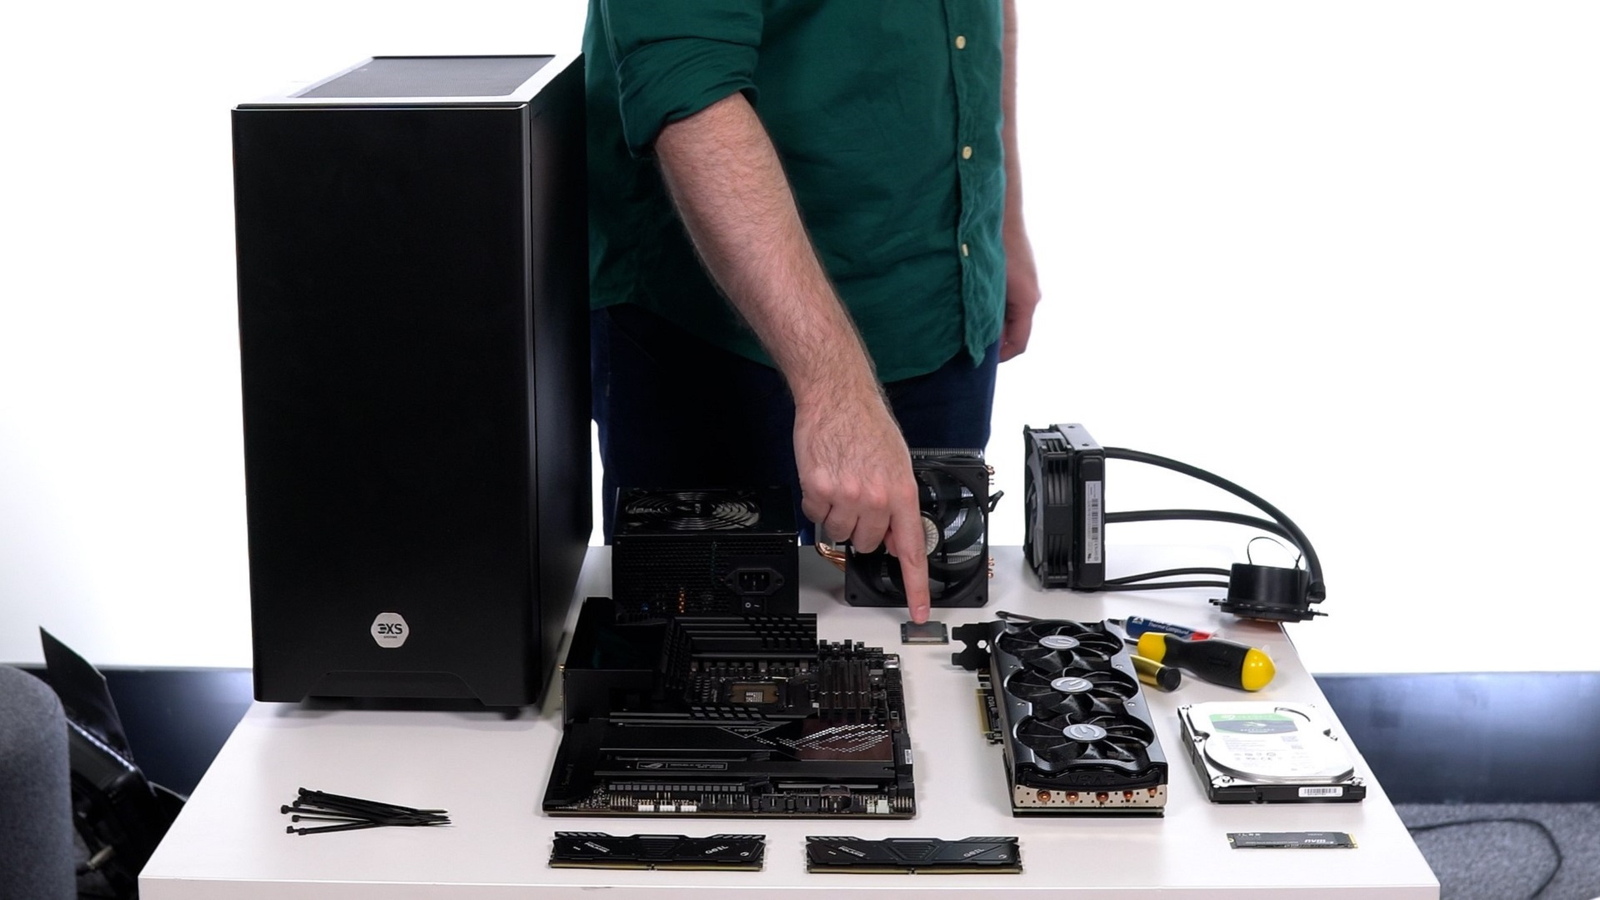
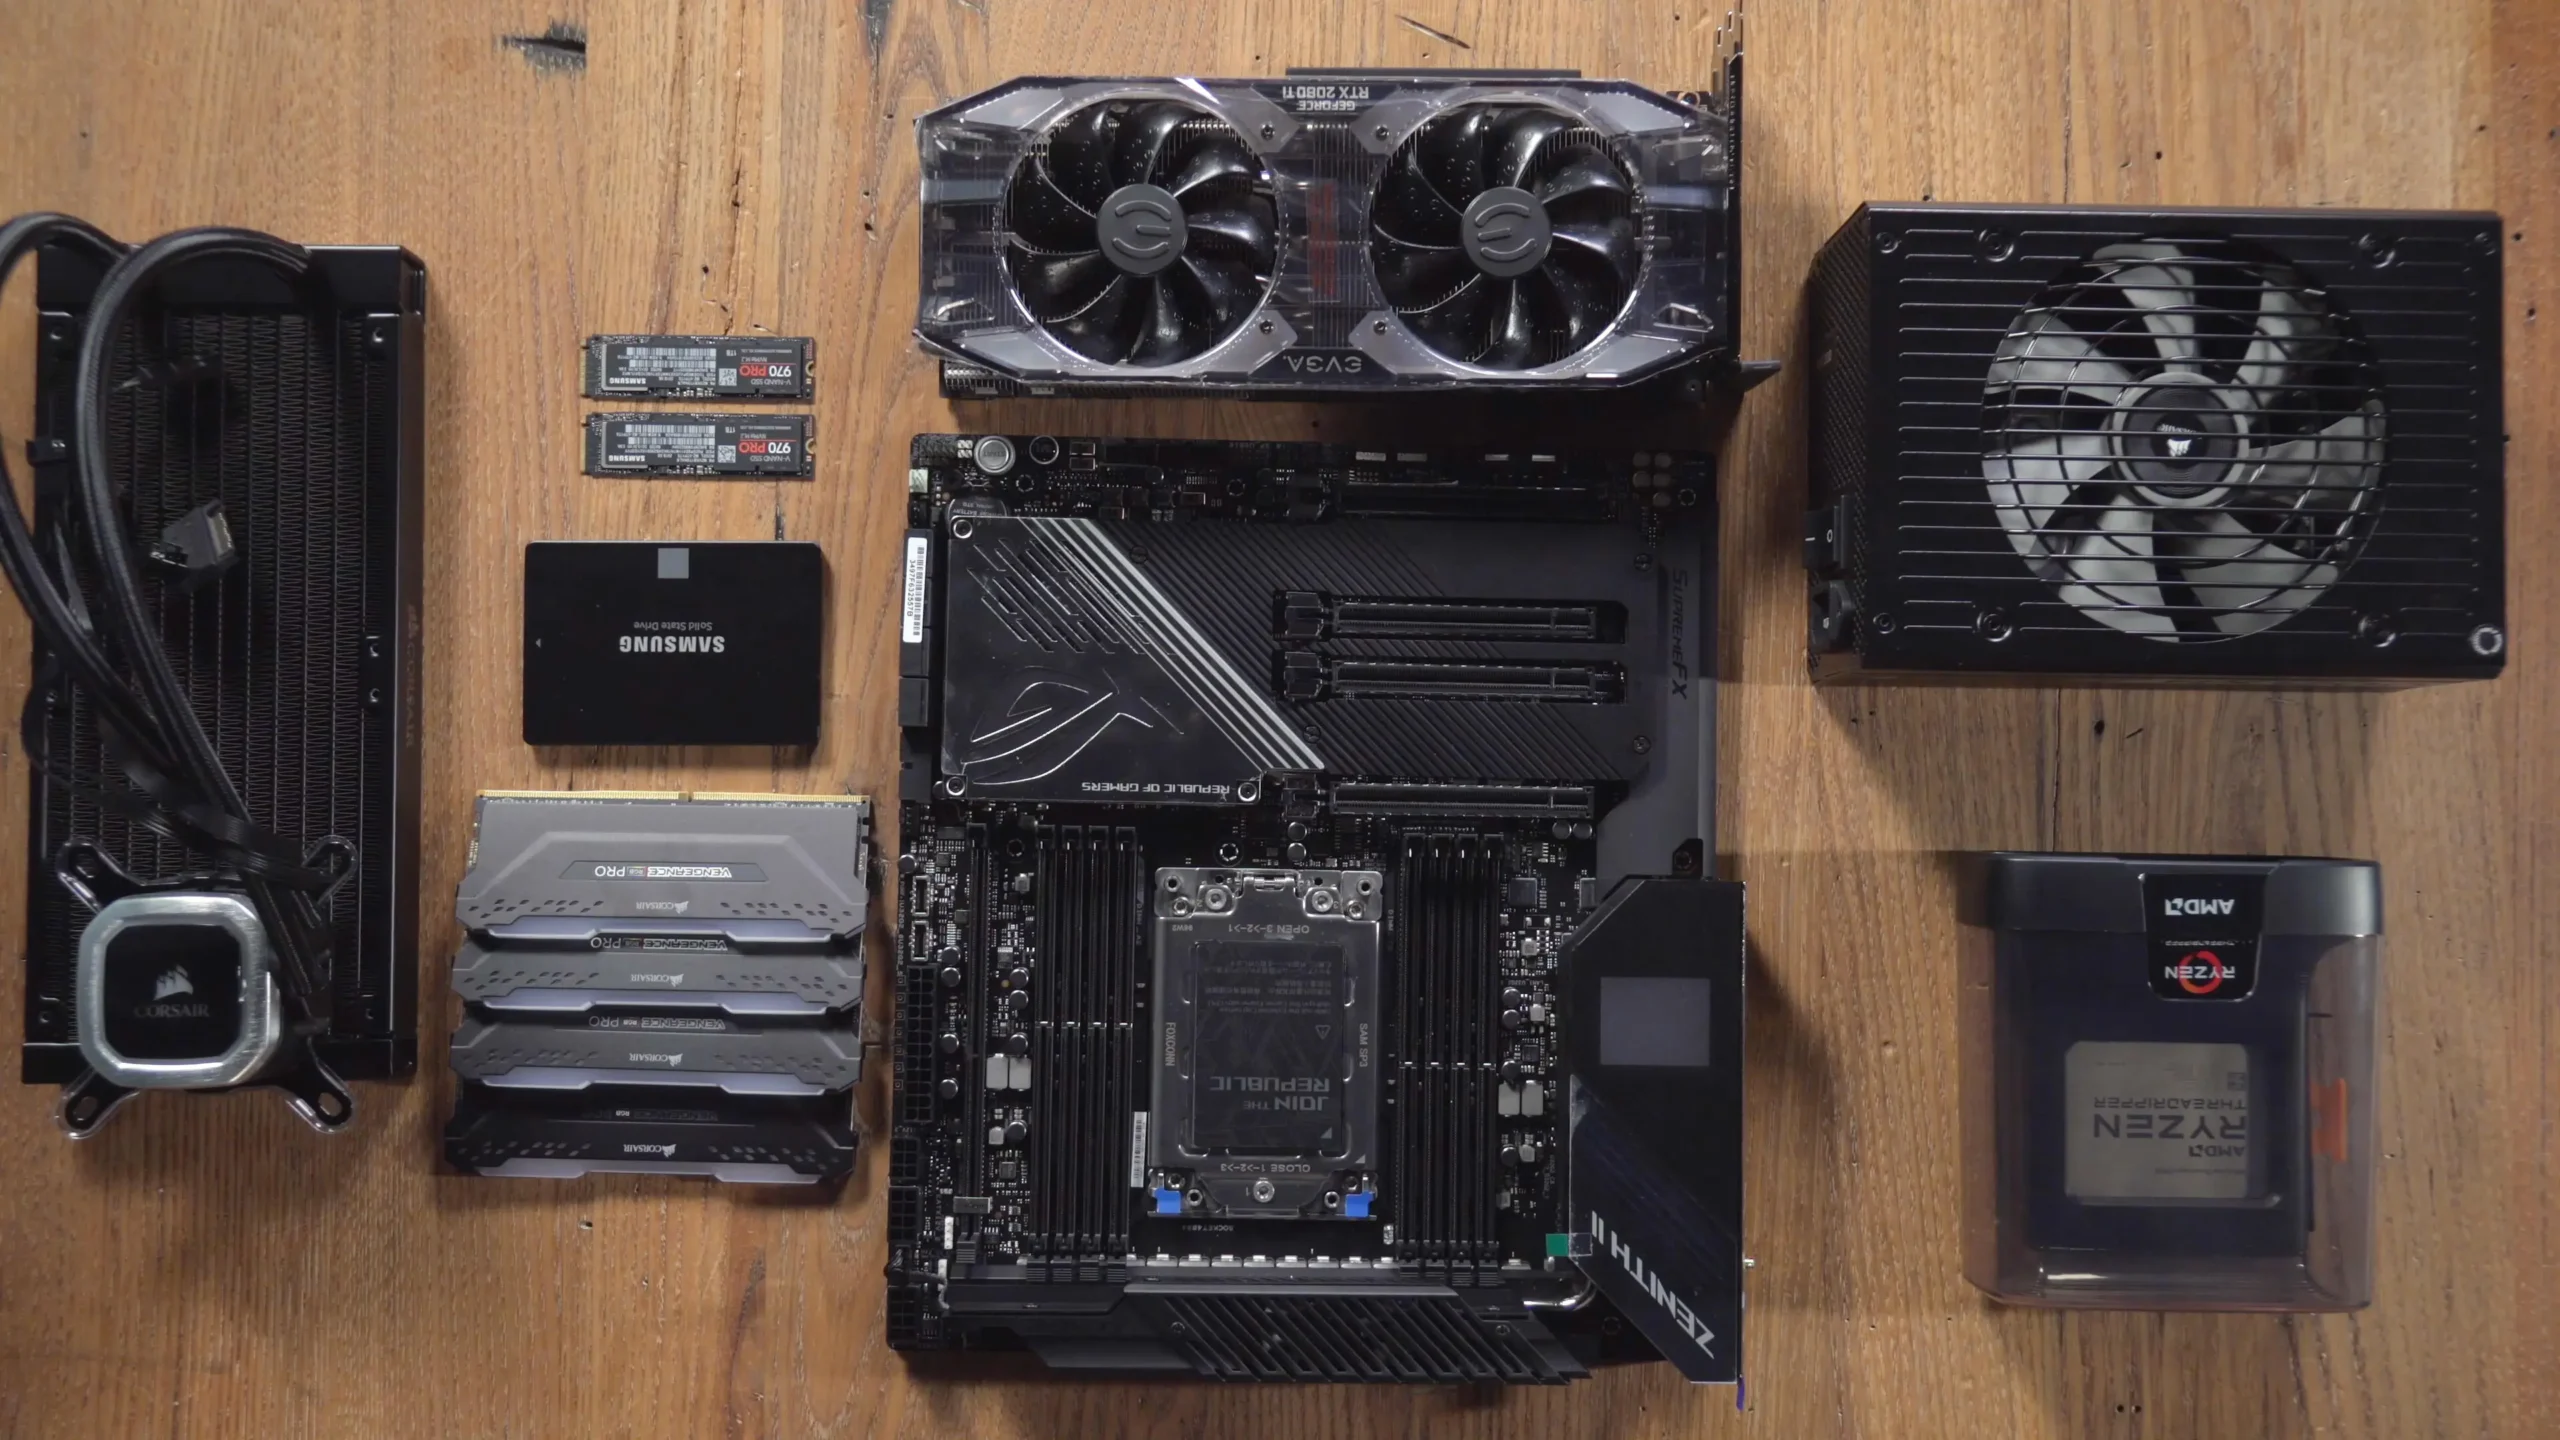
You cannot build a PC without the parts themselves. A typical DIY desktop requires a CPU, motherboard, RAM (two sticks for dual-channel), a power supply, a case, a storage drive (an M.2 SSD is fastest), and a graphics card if your CPU lacks integrated graphics. A CPU cooler is necessary; most CPUs ship with a stock cooler, but aftermarket towers are quieter and more effective for demanding tasks.
Tools are minimal. A magnetic Phillips #2 screwdriver is the most important. Zip ties help with cable management. An anti-static wrist strap is cheap insurance, but you can ground yourself by touching an unpainted metal part of the case every few minutes. You will also need a monitor, keyboard, and mouse for the first boot. For audio, your choice of headphones for listening to music or wireless headphones for PC gaming can be finalized later.
Have a USB flash drive with your operating system installer ready before you begin. Windows 11 requires a 64-bit processor, 4 GB of RAM, and a TPM 2.0 module (most modern motherboards include it). Linux distributions are more forgiving and work on older hardware.
Step 1: Install the CPU, RAM, and Cooler on the Motherboard
Work on a flat, non-conductive surface. A cardboard box that the motherboard came in works perfectly. Follow these steps in order:
- Open the CPU socket. Lift the retention arm, align the triangle on the CPU with the triangle on the socket, and gently drop the CPU into place. Do not force it. Lower the arm to lock it.
- Install the RAM. Open the clips on the two slots that match your motherboard manual’s recommendation (usually the second and fourth slots from the CPU). Push the stick in until the clips snap. You should hear a distinct click.
- Apply thermal paste. If your cooler has pre-applied paste, skip this. Otherwise, place a pea-sized dot in the center of the CPU. Do not spread it.
- Mount the cooler. Attach the cooler according to its instructions. Most tower coolers use a backplate that goes behind the motherboard. Tighten the screws in a cross pattern. Connect the fan header to the CPU_FAN header on the motherboard.
At this point you have a fully assembled CPU, RAM, and cooler on the board. Set it aside.
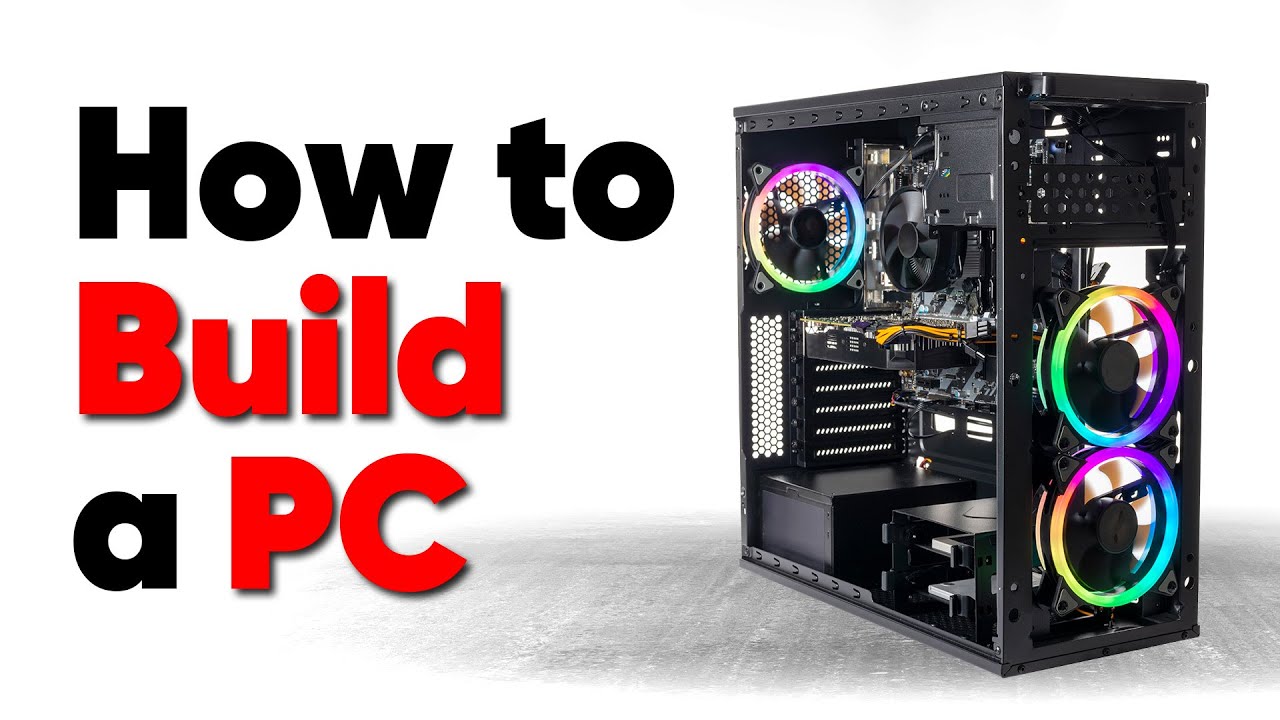
Step 2: Prepare the Case and Install the Power Supply
Open the case by removing both side panels. Most modern cases have a glass side panel that slides off after removing thumbscrews. Place the power supply in its designated area, usually the bottom. If the case has a vent, orient the fan downward so it draws cool air from outside. Screw the PSU into place using the four screws provided.
Route the main power cables through the nearest cutout in the motherboard tray. Do not connect them to the motherboard yet. You will run the 24-pin ATX cable and the 8-pin CPU power cable to their respective locations later. For now, just pull them through so they are roughly where they need to be.
Step 3: Mount the Motherboard and Connect Cables
Install the I/O shield that came with the motherboard. Pop it into the rectangular opening at the back of the case from the inside. It should snap in firmly. Place the motherboard inside the case, aligning its ports with the I/O shield. Check that the standoffs (the small brass pillars) in the case match the holes in the motherboard. If your case does not have pre-installed standoffs, screw them in yourself using the included tool.
Screw the motherboard into the standoffs. Do not overtighten; once the screw stops turning, that is enough.
Now connect the cables:
- 24-pin ATX power from the PSU to the large connector on the right edge of the motherboard.
- 8-pin (or 4+4) CPU power to the socket near the top left of the CPU socket.
- Front panel headers for the power button, reset button, power LED, and HDD LED. These are small wires that plug into the bottom right corner of the motherboard. Your motherboard manual shows exactly which pin does what.
- USB 3.0 and USB 2.0 headers for the case’s front ports. They are keyed, so they only fit one way.
- HD Audio header for the front headphone jack. It is usually located near the bottom left.
Step 4: Install Storage Drives
For an M.2 SSD, locate the M.2 slot on the motherboard (often under a heatsink). Remove the screw, insert the drive at a 30-degree angle, and press it flat. Secure it with the screw.
For 2.5-inch SATA SSDs or 3.5-inch hard drives, mount them in the drive bays. Most cases use tool-less trays. Slide the drive in and snap the sides. Connect a SATA data cable from the drive to the motherboard (use the SATA 6G ports) and a SATA power cable from the PSU.
Step 5: Install the Graphics Card (GPU)
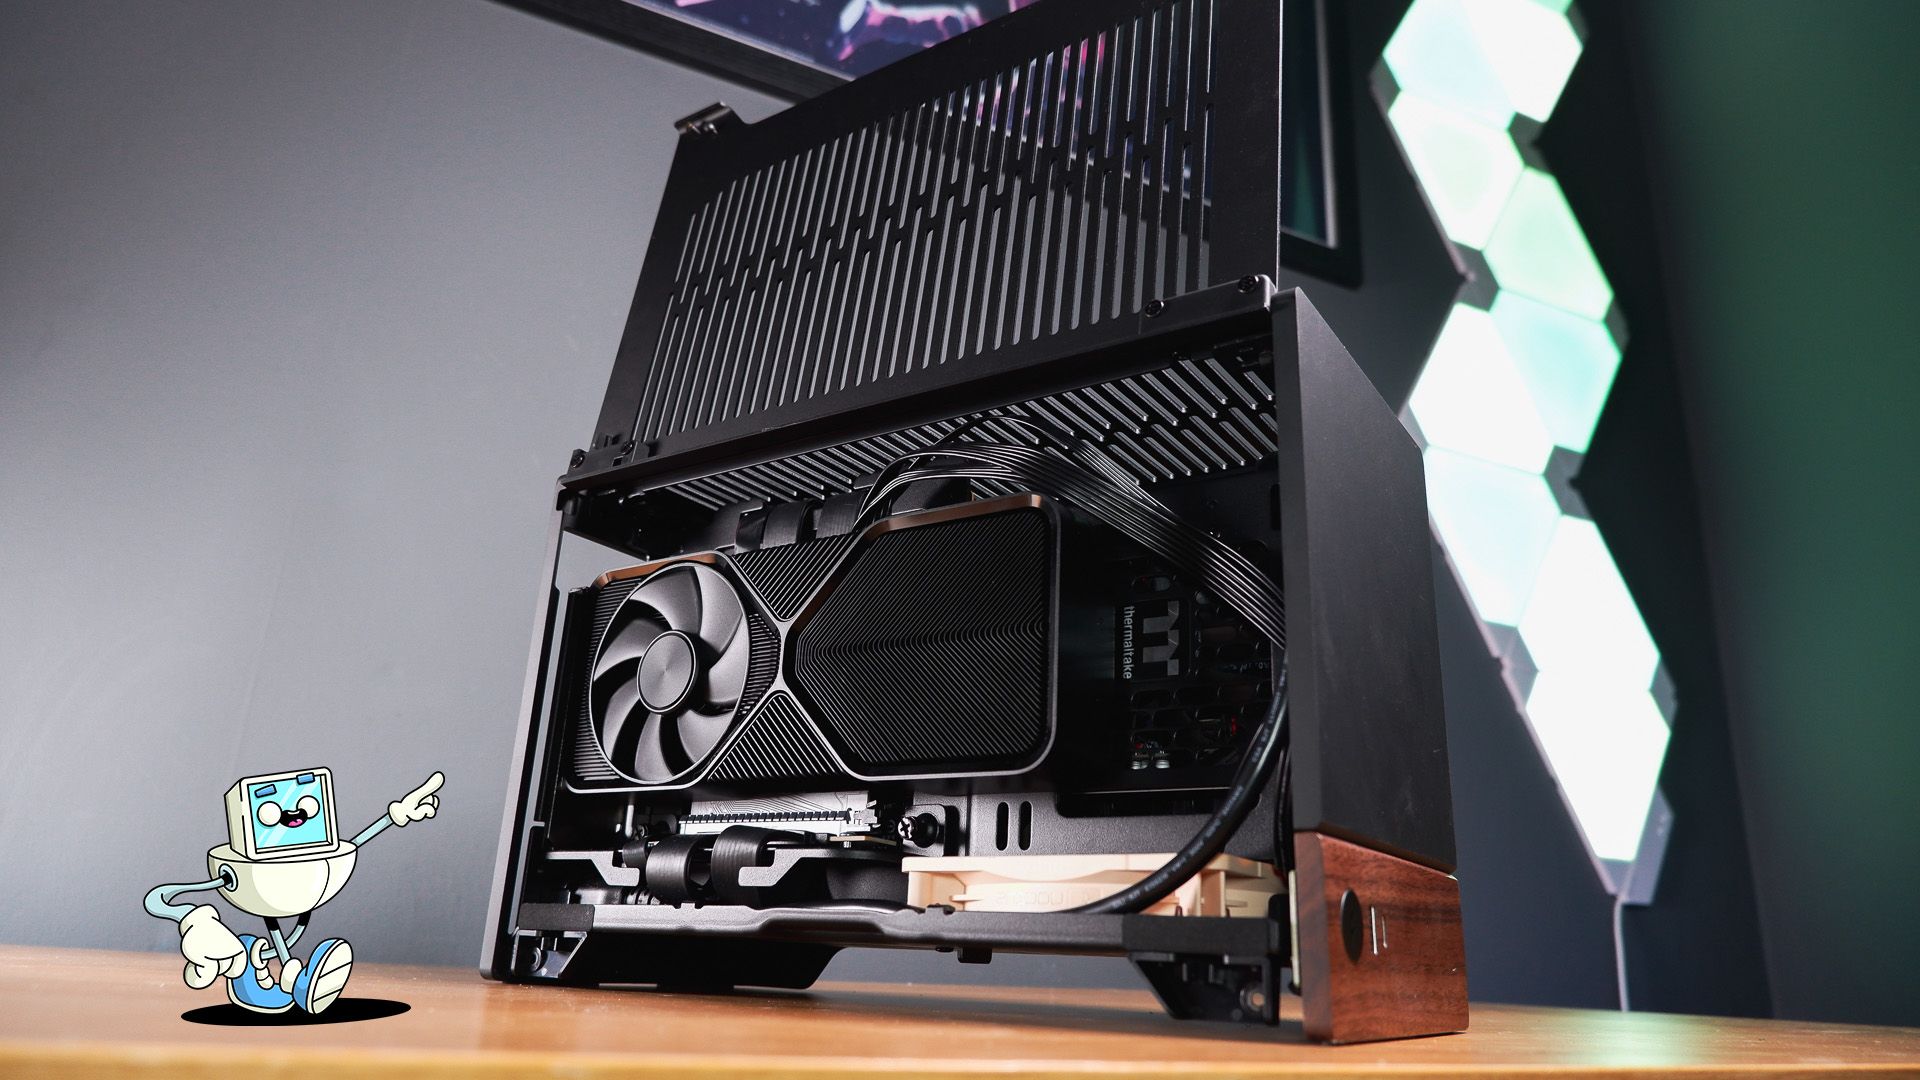
Remove the expansion slot covers on the rear of the case that align with the top PCIe x16 slot. The GPU will occupy two or three slots, so remove that many covers. Align the GPU’s gold contacts with the PCIe slot on the motherboard and push straight down until the latch clicks. Screw the GPU’s bracket to the case with the screws you removed earlier.
Connect the PCIe power cables from the PSU to the GPU. Most modern GPUs require one or two 6+2 pin connectors. Push them in until they latch.
Step 6: Cable Management and Final Checks
Route the remaining cables behind the motherboard tray and secure them with zip ties. Make sure no cable is blocking a fan blade. Check that every connection is fully seated: motherboard power, CPU power, GPU power, front panel headers, storage cables, and fan headers.
Plug in the monitor to the GPU (not the motherboard). Connect keyboard and mouse to USB ports on the motherboard or case.
Step 7: Power On and Install the Operating System
Connect the power cord to the PSU and flip the switch on the back to the on position. Press the power button on the case. If the system does not start, here are the most common reasons:
- The power switch header is connected to the wrong pins.
- The RAM is not fully seated.
- The CPU power cable is not connected.
- The GPU power cables are not connected.
If it starts but there is no display, check that the monitor is plugged into the GPU, not the motherboard, and that the GPU is properly seated.
Once the BIOS screen appears, press the key shown on the screen (usually Del or F2) to enter the BIOS. Set the boot order to your USB drive. Save and exit. The operating system installer will load. Follow the on-screen prompts. For Windows, choose the custom install option and select your SSD. After installation, install drivers from the motherboard and GPU manufacturer’s websites.
Common Mistakes and How to Avoid Them
Forgetting the I/O shield. Install it before the motherboard. Once the board is screwed down, you cannot slide the shield in from the outside.
Skipping the standoffs. If you screw the motherboard directly onto the case without standoffs, the board will short against the metal case. Always use the standoffs.
Overtightening the CPU cooler. Too much pressure can warp the motherboard. Tighten until the screws stop, then stop.
Installing RAM in the wrong slots. For two sticks, use the slots recommended by the motherboard manual (usually A2 and B2). This enables dual-channel mode for better performance.
Using too much thermal paste. A pea-sized dot is enough. Spreading it manually can introduce air bubbles.
Underpowering the GPU. Check the power supply wattage against the GPU’s requirements. A 650-watt unit is safe for most mid-range builds.
FAQ
How long does it take to build a PC?
A first-time builder should plan for 2 to 4 hours. Experienced builders can finish in 1 to 2 hours. The operating system installation and driver updates add another 30 minutes.
Do I need to buy extra thermal paste?
Most stock coolers come with pre-applied paste. Aftermarket coolers often include a small tube. If you are reusing a cooler or buying a bare CPU, you will need to purchase thermal paste separately.
Can I build a PC without a graphics card?
Yes, if the CPU has integrated graphics. Intel Core processors without an “F” suffix (e.g., i5-13600K) include integrated graphics. AMD’s G-series CPUs (e.g., Ryzen 5 5600G) also have integrated graphics. Otherwise, you will need a discrete GPU for any display output.
What tools do I really need?
A Phillips #2 screwdriver is the only essential tool. Zip ties are very helpful for cable management. A magnetic screwdriver prevents dropped screws. An anti-static wrist strap is optional but recommended.
How do I know if my parts are compatible?
Use an online compatibility checker like PC Part Picker, or manually check the motherboard’s CPU support list and the RAM’s QVL (qualified vendor list). The power supply must have enough wattage and the correct number of PCIe connectors for your GPU.